Clock Project
Here are my Pre Sketches and the three machines I used were the vinyl cutter, large laser and the 3d printers.
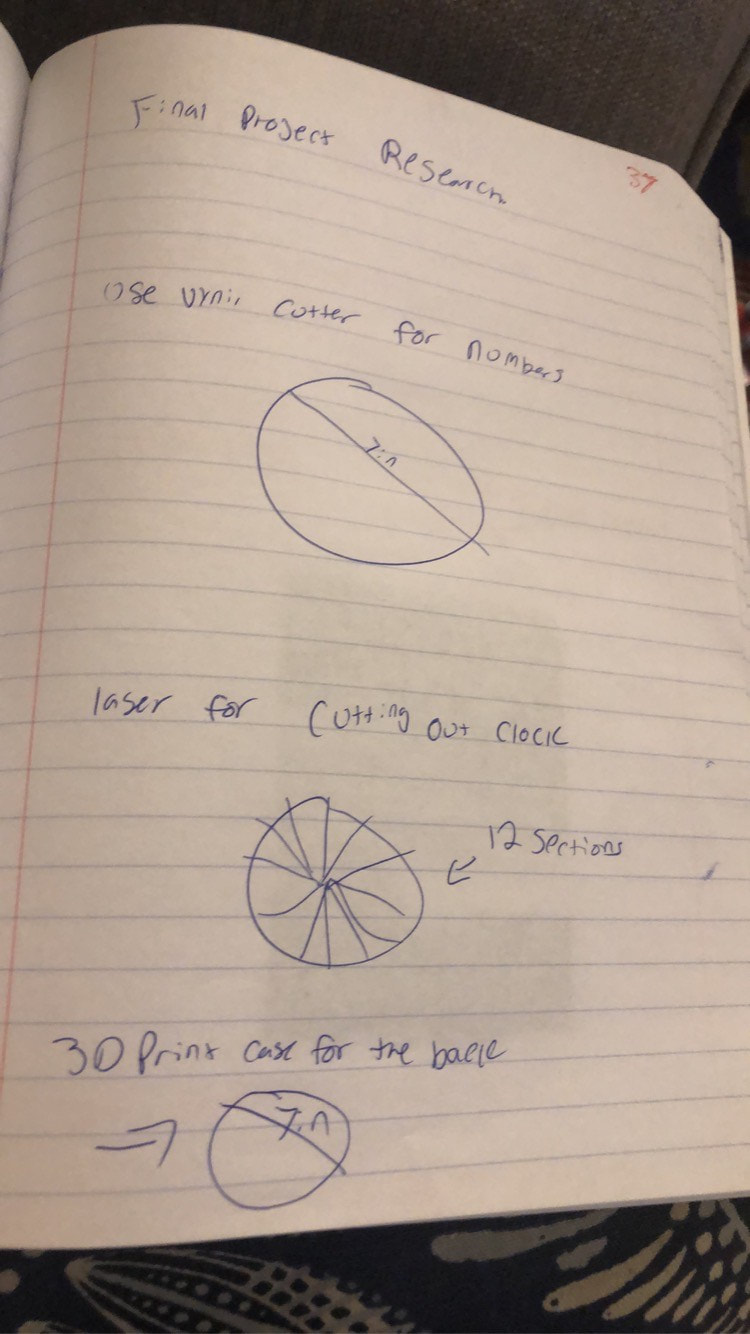
My steps
step 1 make an illustrator file to use mat-board on the laser for the base
step 2 make blue and red outlines to cut and engrave
step 3 go down to the laser and set up the ucp software and export.
After that make a clock holder by making an inventor file by making a circle then extruding and then cutting out the center to a reasonable depth.
Step 5 send the file to maker bot and scale by 1000 percent and make sure the lengths transfer over from illustrator to maker bot
Step 6 export the file on the printer
Step 7 find a nice vinyl number set to put into illustrator and take out any unreasonable parts such as background and then export to cutmaster 4.
Then turn on the vinyl and make sure you have the correct settings on in the software and then click send this could then cut out the numbers and then you can use transfer tape to put the numbers on your clock then ask for a clock part and piece the project together.
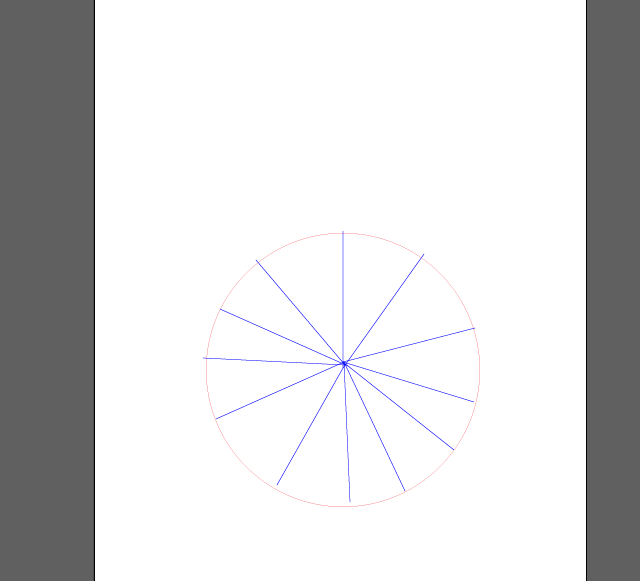
Here is my inventor File for the clock cutout
|
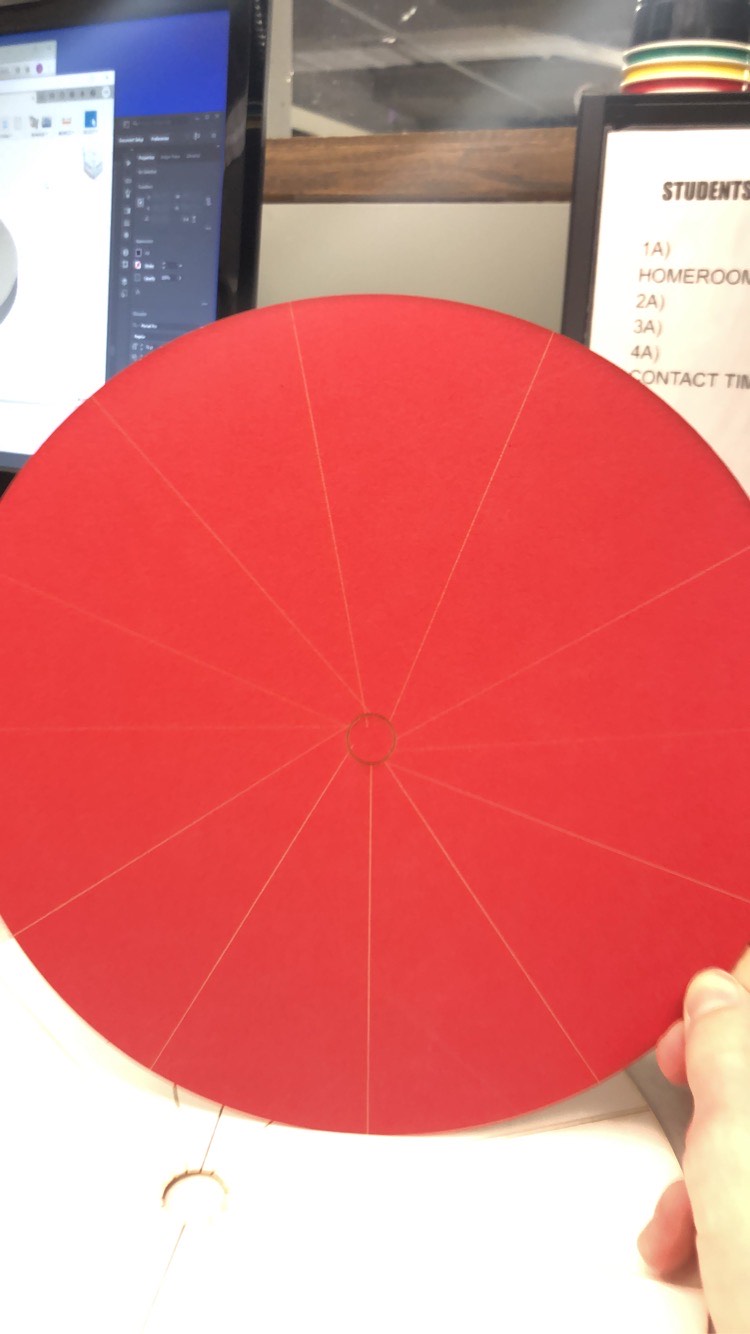
Here is the final cutout of the clock
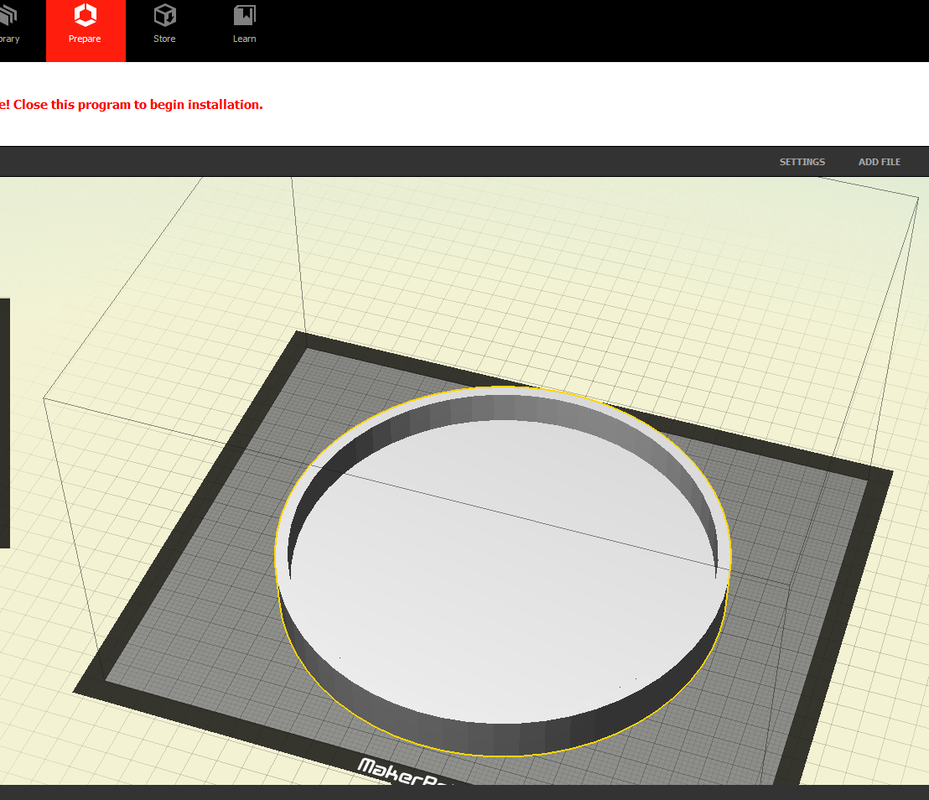
Here is my 3d printer file
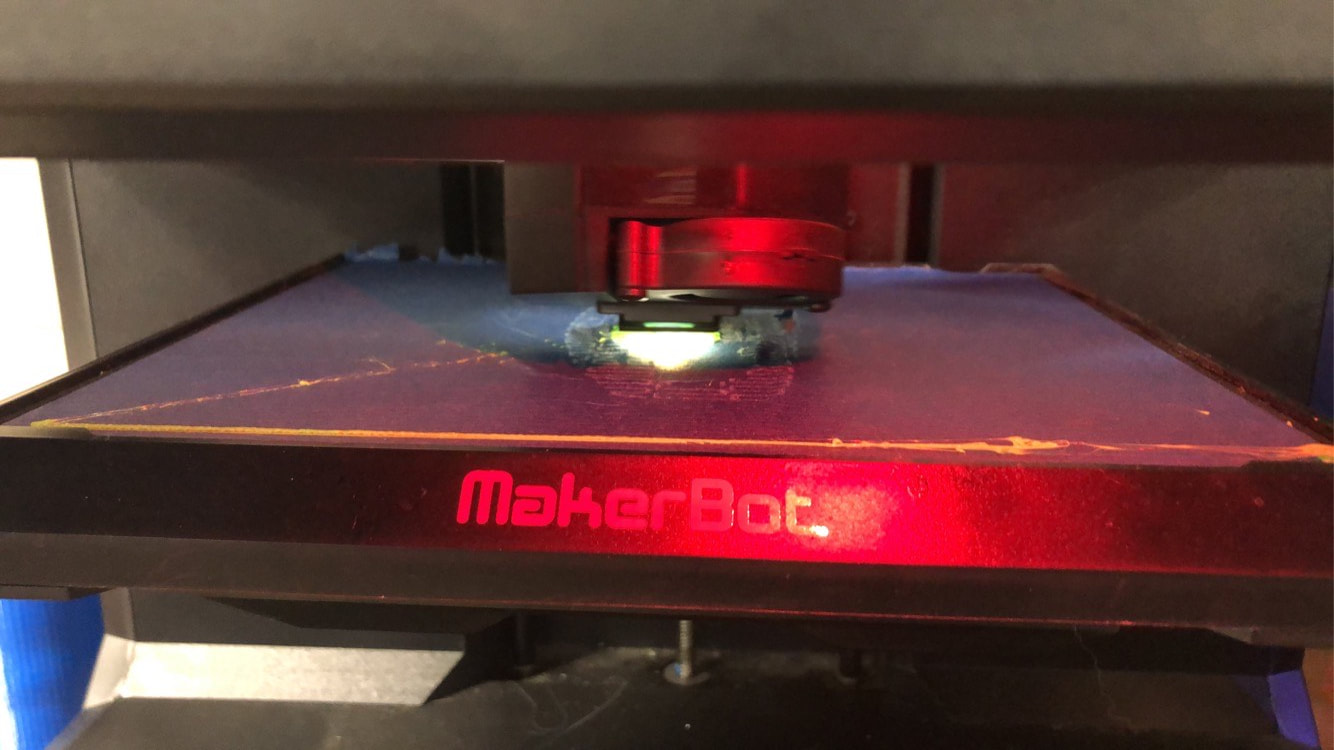
Here is the file printing
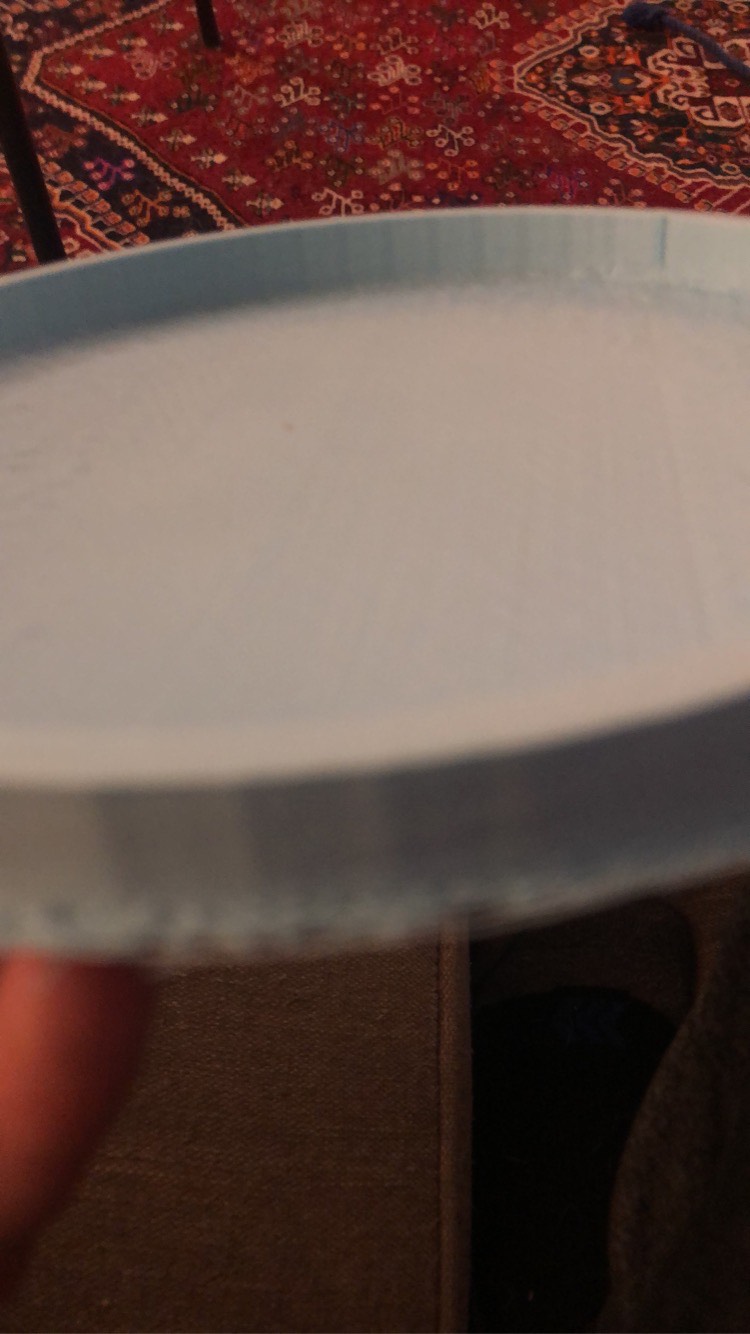
Here is the finished product of the 3D print
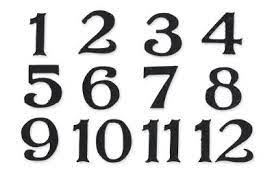
Here is my vinyl number file and the numbers I used for my lock.
Here are the numbers on my clock.

Here is the finished product
Final Paragraph
Overall in this rotation I really enjoyed the freedom of the project and I enjoyed using the machines of my choice and It was also nice to know and learn how to use the machines throughout the semester and then actually finally have it pay off. I used the laser which is my personal favorite to create the base of the clock and then I used the 3d printers for the frame of the clock and I used the vinyl cutter for the numbers of the clock. But overall I really enjoyed learning the software's in this router unit.
Overall in this rotation I really enjoyed the freedom of the project and I enjoyed using the machines of my choice and It was also nice to know and learn how to use the machines throughout the semester and then actually finally have it pay off. I used the laser which is my personal favorite to create the base of the clock and then I used the 3d printers for the frame of the clock and I used the vinyl cutter for the numbers of the clock. But overall I really enjoyed learning the software's in this router unit.
